Register a Model in MLflow
Introduction
This page provides a step-by-step guide on how to register a machine learning model in MLflow. You'll learn how to install MLflow, set up your workflow, and use the MLflow client to track experiments and register models with example code snippets.
Installation
You can install MLflow as a Python package using any dependency manager:
pip install mlflow
Using MLflow
To start using MLflow, you need to instantiate a few objects and set up your workflow.
MLflow Client
The MLflow client is the Python object from which you perform most operations, including registering models and tracking experiments.
from mlflow import MlflowClient, log_metric, set_experiment, start_run

mlflow_client = MlflowClient()
Next, set an experiment name, which serves as a reference for the operations you perform on this instance:
set_experiment(experiment_name=f"{pipeline_name}-experiment")
Wrap your training code in the start_run context manager provided by MLflow:
kubeflow_run_link = (
    f"https://cd4ml.{region}.{environment}.{product}.connected.bmw/_/"
    f"pipeline/?ns={profile}#/runs/details/{run_id})"
)

with start_run(
    run_name=run_id,  # run_id
    tags={"pipeline_name": pipeline_name, "pipeline_version": pipeline_version},  # tags
    description=f"[Kubeflow Run]({kubeflow_run_link}",  # description
) as run:
    # Training code
    data_df = read_csv(data_s3_path)
    train_test_ratio, mse, random_seed = fit_xgboost(data_df, model_name)
    model_version_s3_path = f"{get_artifact_uri()}/{model_name}/model.bst"
After training, update your model version:
model_version = mlflow_client.search_model_versions(
    filter_string=f"name = '{model_name}' and run_id = '{run.info.run_id}'"
)[0].version

mlflow_client.update_model_version(
    name=model_name,
    version=model_version,
    description=f"[Kubeflow Run]({kubeflow_run_link}",
)
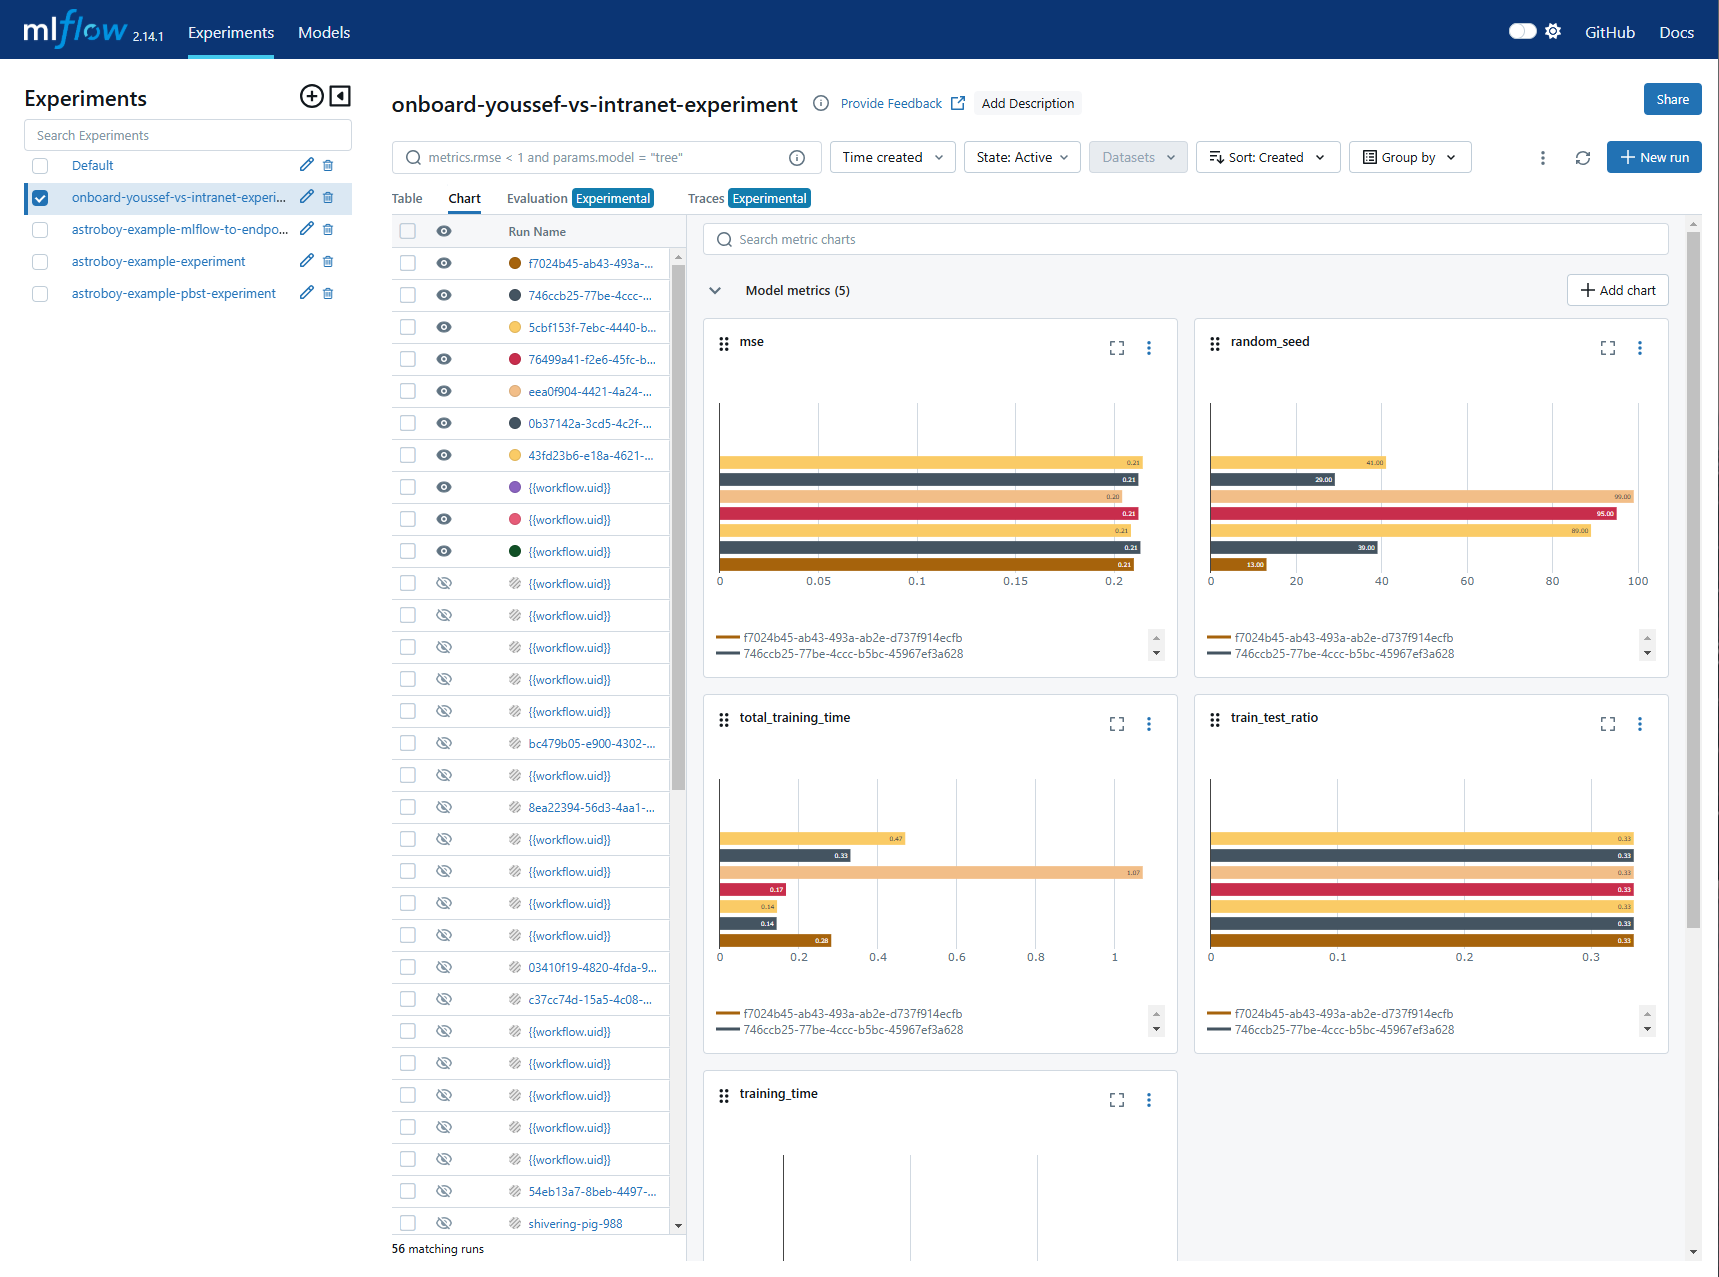
When you run your code, your model will automatically be registered in MLflow and its metrics will be tracked.